Thursday, April 14, 2011

Playing Catch-up!

It's been a busy winter, and I'm just now getting back to the blog. In the spirit of spring cleaning, I thought I'd post a series of images of some of the projects I've completed since last summer. They are particularly timely, given that it's "Earth Month", since many of the projects involved repurposing an unused item into something we really needed. If nothing else, it serves as a record of what I've managed to accomplish over the winter!

Craft Center
First, I'm going to show off our new craft center. The kids' quickly outgrew the little cabinet we used to store their craft supplies, and it took forever to track down all the materials we needed to do simple projects. Plus, the lack of space and organization meant that the kids couldn't easily put things away when they were done. Since we couldn't afford to buy a new, but much needed, hutch to store the many craft supplies taking over the house, we decided to build one using materials we already owned. We ended up stacking an old kitchen wall cabinet we'd pulled out during the remodel on top of a beautiful hand-built bookcase we'd inherited with the house but had never found a use for.

We added some crown moulding to the top, painted the whole thing creamy white (B. Moore Linen White), added a pair of cabinet pulls that were leftover from the kitchen remodel, and a pair of new curtains to the bottom in the same fabric I've used for other projects around the first floor. The finished piece was so nice looking that we happily moved it into the dining room, where it stores all of the kids' craft supplies, plus many of mine. And the best part is that it didn't cost us anything other than a little time and work!


More Organizing:
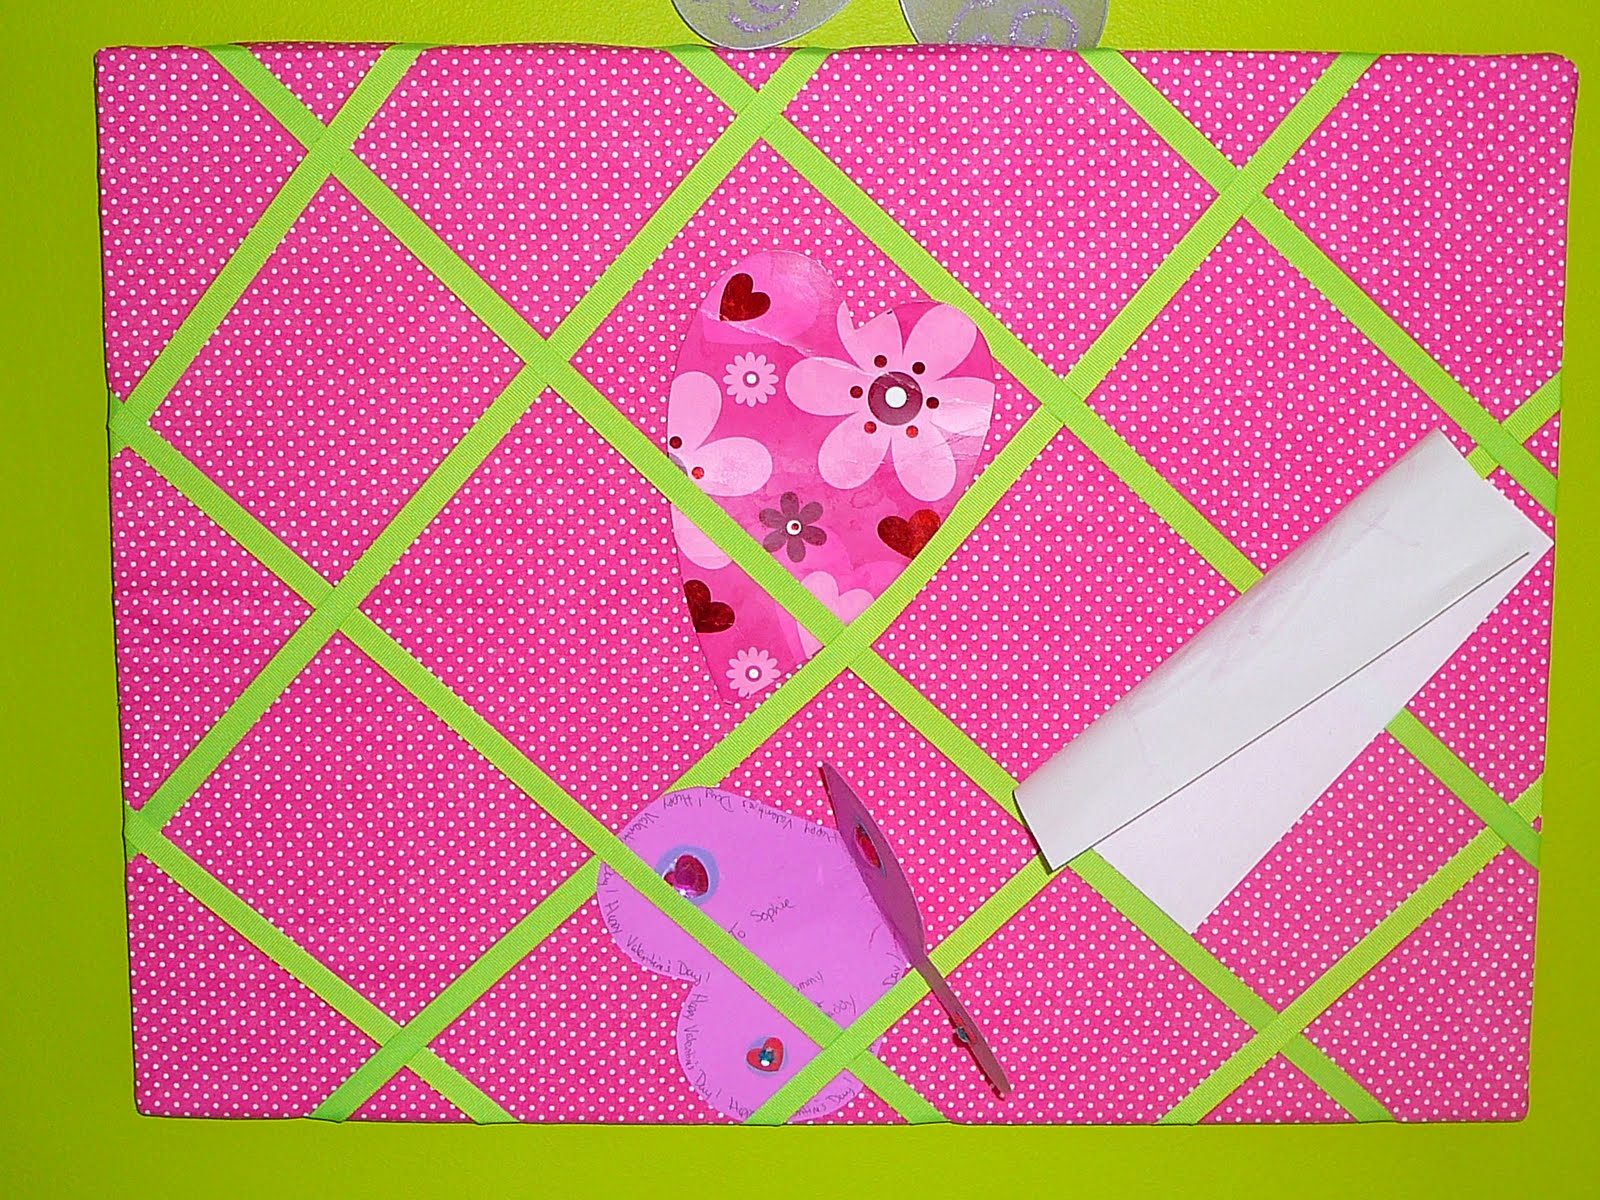
With the new craft cabinet in place, I was feeling super crafty and ready to organize other areas of the house. In particular, I wanted to tackle the piles of papers and mementos the kids had stacked in their rooms. I decided to make them both French memo boards to display the more meaningful pieces, while the rest of the papers were sorted into "keep" and "recycle" piles. The keep papers went into 3-ring binders and one small plastic tub each. For each memo board, I used a 20x24 piece of thick foam core for the base, and wrapped it in fabric, which I hot glued to the back. I wrapped coordinating ribbons in a diagonal "woven" pattern, and hot glued the ends to the back of the board. I also hot glued the central ribbons to each other on the front to increase the stability. I think they came out pretty good, and they are definitely well-used!


Fun Accessories:
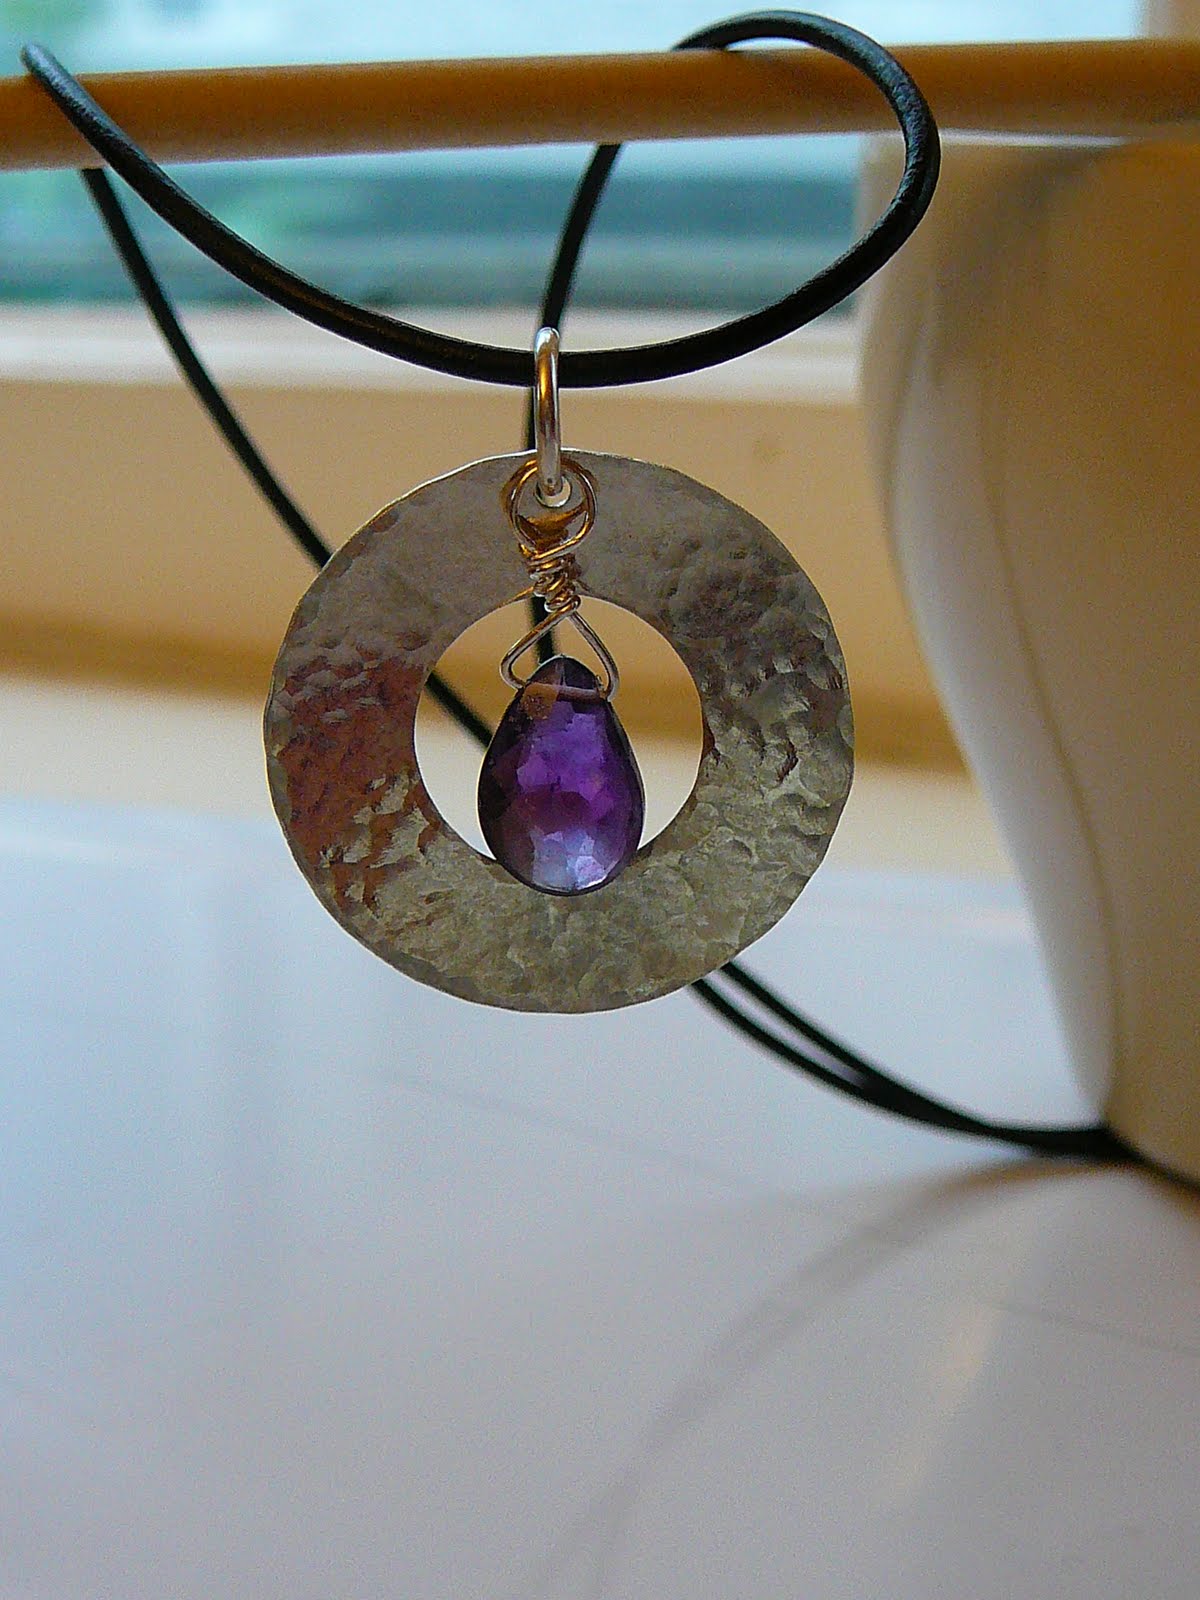
I spent much of the Fall making a series of pearl and silk thread necklaces and bracelets for Christmas gifts. They turned out really nice, although hand-knotting all those pearls and crystals got to be a bit tedious.


I also made a whole slew of new hair bows and flower barrettes for Sophie - she can go a month without wearing the same bow twice, although she definitely has her favorites!


Spring Sewing:
Here are some of the fun bags and purses I made in anticipation of spring. The striped clutch was actually super easy to make and used a clutch frame and pattern from Upstyle design on Etsy.


 And of course I needed to work on expanding Sophie's spring wardrobe. Rather than starting from scratch or buying new, I decided to repurpose some of the things I already had. First, I made her a double tiered skirt out of her old crib skirt - the fabric was so pretty that I couldn't let it go to waste!

Then, I made her another skirt using one of my old tank tops. It has a yoga-style waist band, which you can't see in this picture, but it means that the entire skirt was fashioned from a single adult tank top - waste not want not!

Finally, I took one of her plain white long-sleeve shirts that still fit on top but had gotten too short and turned it into a really cute empire-waist dress using a slightly altered version of the tutorial found here. I need to finish off the shortened sleeves, and I'm thinking of adding a wide purple ribbon waistband, but otherwise it's good to go!

Friday, August 6, 2010

Flower week continues...

After several late nights, I managed to finish up several new projects this week, including the kanzashi flowers I plan to add to hair clips for an upcoming birthday gift. These are double color flowers made from grosgrain ribbon, with coordinating buttons. Each flower is approximately 1.5 inches wide.

Another project I completed is a fun paper flower wreath for our kitchen. I cut out three different sizes of flowers from a set of scrapbook paper I bought years ago and hot glued them to a wreath form I cut from the side of a diaper box. I also punched smaller flower shapes to hot glue to the center of each flower stack. I think it came out really nice, and I plan to make another one for our front door. And the best part is that I used materials I already had on hand.

Monday, August 2, 2010

Flowers blooming everywhere

When I started this blog, I had intended, at the very least, to post updates on a weekly basis. After all, I typically create at least one new item each week, often more, so it shouldn't be much harder to post about those creations on the blog.  But, July was a pretty rough month around here, so I'm behind a bit on both the posting and the crafting! I still have a backlog of older projects to post about, particularly all the sewing I've been doing, but I thought I'd kick off this hot summer day with a post about my recent obsession with flowers, of the fabric, ribbon and paper variety, that is! And I have ample inspiration from the zinnias, sunflowers, 4-o'clocks, and marigolds that are happily growing around my yard.

I started experimenting with fabric flowers earlier this year, when I was desperate for flowers and wanted to make Sophie a cute little flower hair clip. The first ones turned out so well, that I made a few more for other family members. These are all created by folding five 3x3 squares of fabric on the diagonal, and basting along the open edges of triangle to form the five petals. The petals are then sewn together in a circle, and a button of some sort is sewn in the middle to finish the flower look - I use a button covered in a coordinating fabric.


A different type of flower can be sewn by folding a long strip of fabric in half, basting along the raw edge, and then cinching up the strip. I found myself putting these flowers on everything from skirts to bags to cards!


 This week, I'm experimenting with two new forms. The first is is a ruched flower, which is created by basting the long, folded strip of fabric along a zig zag - I used a ribbon for this flower, which I attached to the bottom of a fabric-covered frame I'm making for grandmother's birthday (shhh!).


The second style I'm experimenting with is tsumami kanzashi, a japanese fabric folding technique that the geisha used to created hair ornaments, among other things. I don't have a picture yet, but I'm creating several cute little hair clips for an upcoming birthday present for one of Henry's friends. I'll try to post pictures later this week! In the meantime, if you want to try it out for yourself, check out this easy tutorial: http://gabriellepollacco.blogspot.com/2009/11/kanzashi-bloom-tutorial-fun-handmade.html

Monday, June 14, 2010

Repurposed Art

Last year we put together a quick table out of plywood and landscape timbers for our four-year-old to use on the porch - he mostly ate his lunch at it. After a summer of chocolate milk spills, it was looking pretty rough, and since we were freshening up the rest of the porch, we decided to refinish the table by adding a new, decorative top. We toyed with the idea of tiling it, but then decided to do a mosaic using leftover glass pieces from various stained-glass projects, most of which we inherited from my mom! I started by painting the table legs a bright happy teal to complement the colors of the glass and priming the table surface white so that we'd have a clean background under the glass.

And then came the fun part - I completely underestimated how long it would take to fill a 2x3 space with abstract glass pieces placed in a random, yet aesthetically pleasing pattern.
I figured it would take 3, maybe 4 hours tops, but in the end it was closer to 10 hours with help from my husband before I was satisfied.  Another 3-4 hours to glue the pieces down, and we were ready to grout.
We used a grit-free white grout to help keep the colors bright and maintain the smooth surface. Once the grout was cured, my husband added a metal edger followed by some teal-painted moulding to finish off the top and protect little fingers from sharp edges.


And the leftover pieces were turned into sun catchers!

Sunday, June 13, 2010

Lampwork beads - a flash from the past

Since this is the first of several posts devoted to things I've made in the past, I thought I'd go back to one of my true loves - lampwork glass. I haven't been able to work with glass since we arrived in Springfield, primarily because we haven't had the time or resources to set up a glass studio in our new house. In Tucson I was able to work outside on the back patio, pretty much year-round; but here the snow and rain get in the way, and I really need a clean indoor space devoted to lampwork (and silversmithing - but that's another post). Our plan is to convert a corner of the garage into a studio, complete with new walls, ceiling and door, an exhaust fan and windows that open onto the garden - after all, what's an art studio of any sort without inspiration! But in the meantime, I sketch ideas for new works and refine the plans for the studio, all the while hoping that next year we'll be able to get it up and running. Here are some pictures from my very first studio in Tucson - I'm making a flower bead:


And since I am, at heart, a jewelry designer, I feel my beads look best when properly set in a finished piece. Here are some of my favorites, most of which have been gifted to my mom, sister or other relatives:


And here are some of the "novelty" pieces I've created for my two favorite holidays - Halloween and Christmas:


Cold Forge designs

The benefit of not having a soldering station set up is that you're forced to come up with new ways to connect pieces. So, I've spent the last 3 years exploring the world of cold connections in the form of wire wrapping and jump rings. In the coming months I'd like to add riveting to the list, but for now I stick with my handy pliers.


I've also been working on cold forging silver elements to incorporate into my designs, in the form of hammered frames, pendants, links, and handmade s-hooks or other clasps. I've also recently added stamped designs to my repertoire.